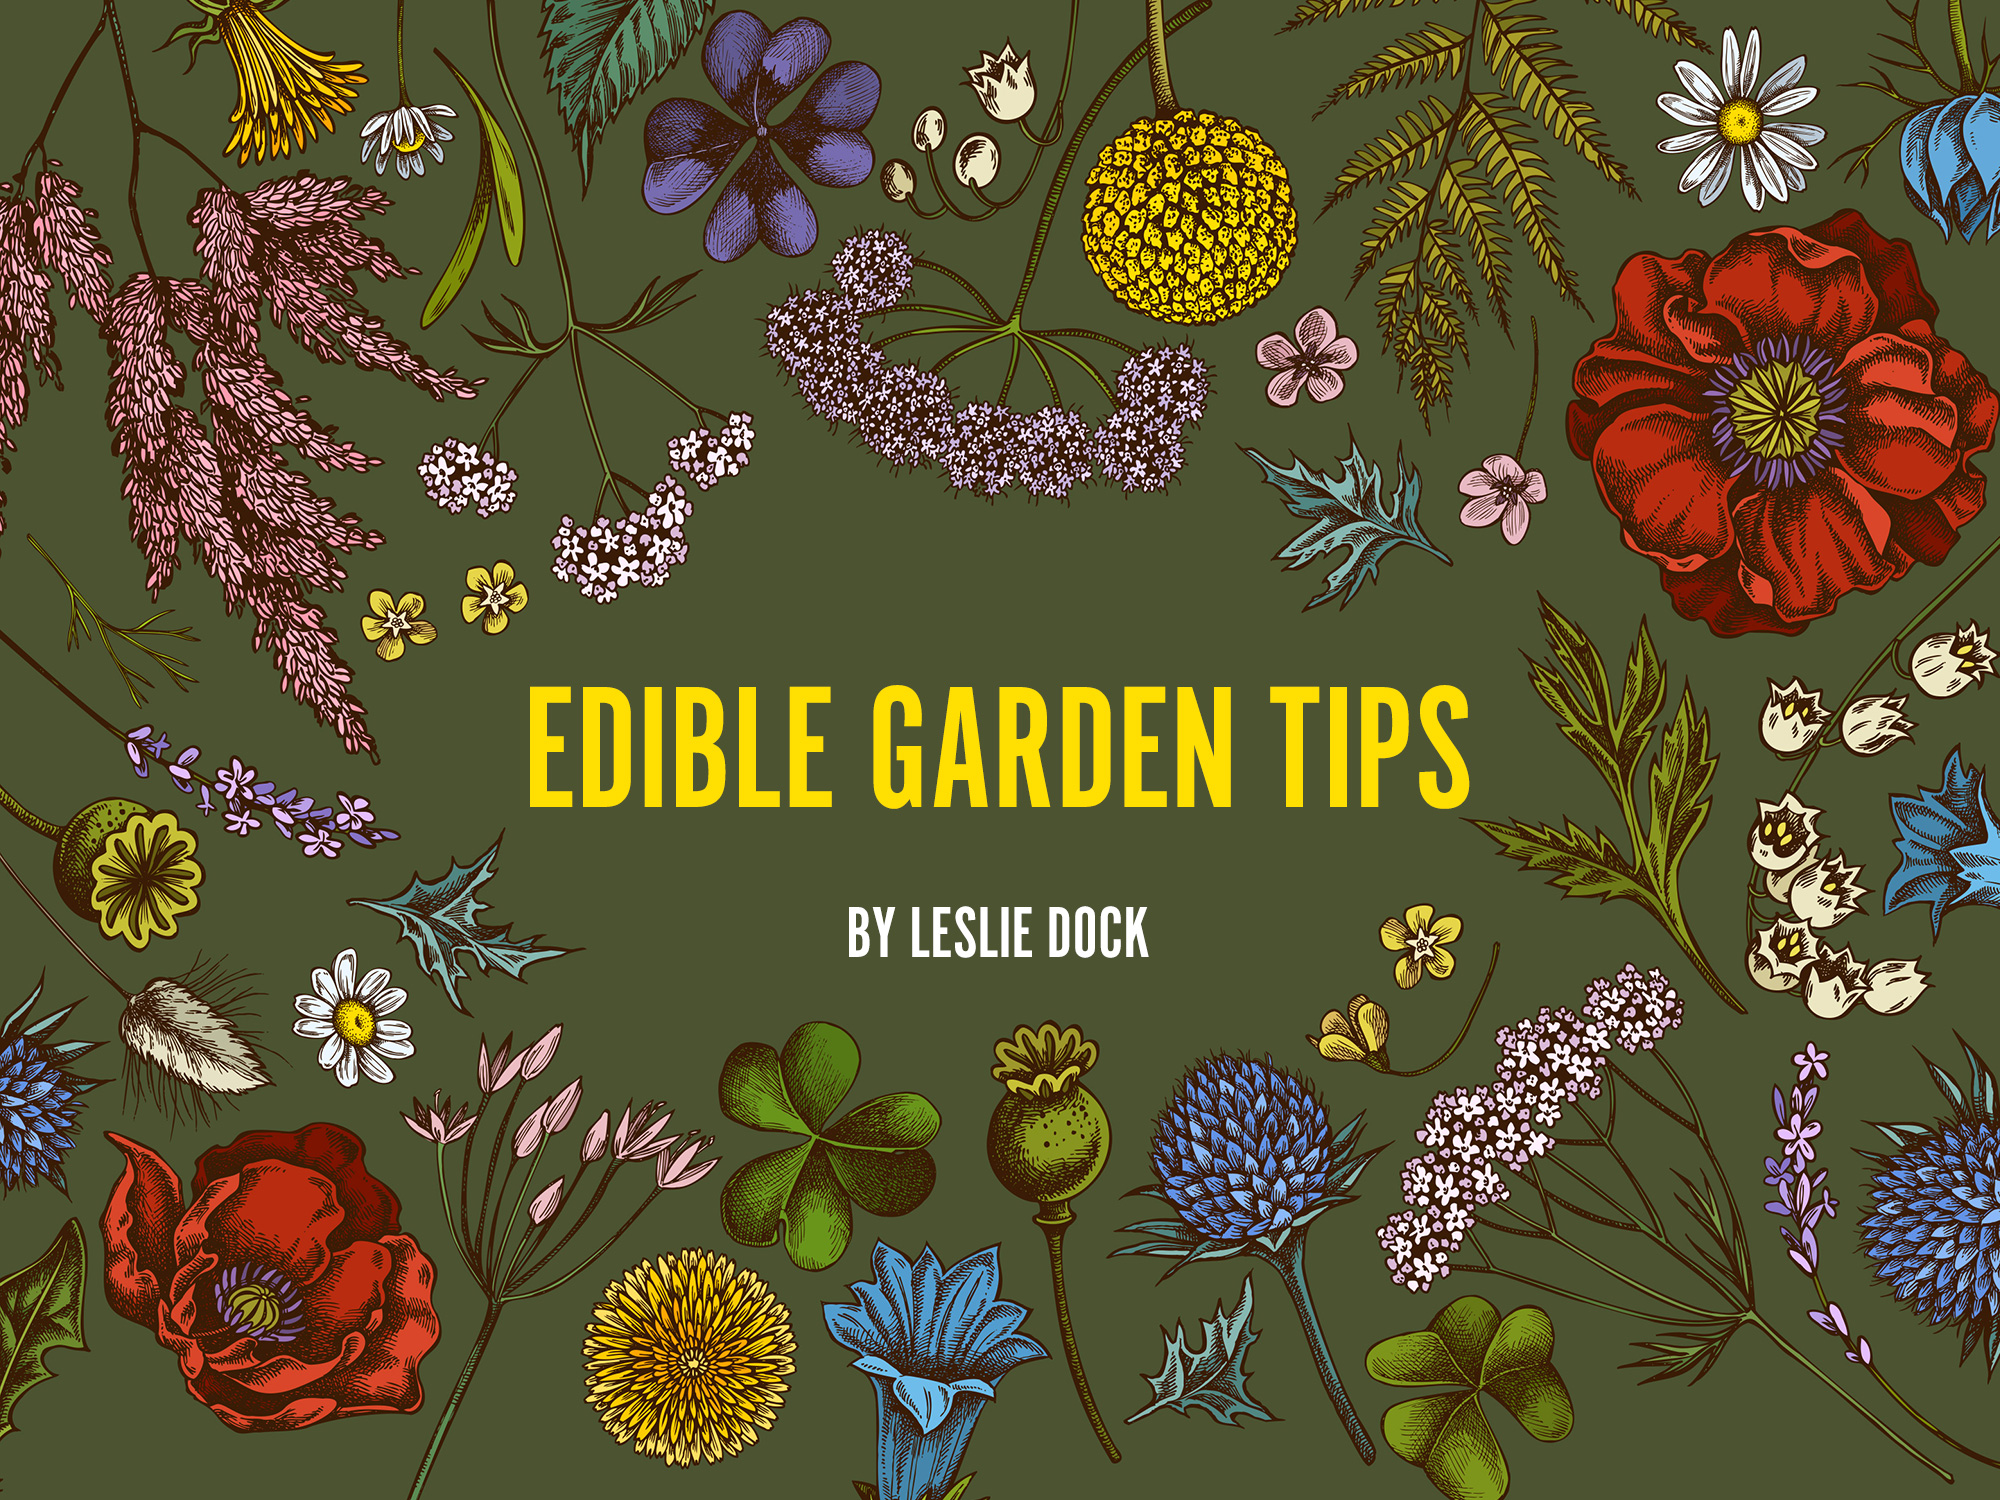
In each issue of Katonah Connect, Katonah resident Leslie Dock – a regenerative farmer, gardener, landscaper and permaculture designer – will share her gardening wisdom with readers. Whether you’ve never had dirt under their fingernails or excitedly check your mailbox each winter for your seed catalogue, Leslie’s got you covered.
Happy Spring! We made it through the winter – the frosty nights are behind us, and signs of growth are everywhere. It’s finally time to get our hands in the soil and get dirty.
May is the starting block for the growing season. There’s much to do, and our winter-rested bodies are eager to get to it. However, before you run out and buy a shiny new shovel, seeds or a bag of potting soil, take time to observe and plan. Careful consideration of where, how, what, when and why you plan to grow will make a big difference in the bounty brought forth from your efforts – it’ll also minimize your stress and produce better results.
Whether you have an acre of fertile soil in full sun or a few pots on your patio, you can grow your own food – no experience necessary. So, let’s get to it.
There is a LOT of information on gardening out there. To simplify your plan of action, select your level of gardening experience and head straight to your section below.

LEVEL 1
Hey, Newbie! Welcome to your new favorite activity. You have chosen wisely. Before you know it, you will be munching on peas and lettuce that you grew yourself. Let’s get you set up for success.
Start small: Start with a couple of big pots. You can expand as you go. Clay pots are a classic. Plastic pots are light. Enameled pots are beautiful. Whatever you choose, make certain there is one or more drainage holes in the bottom.
Find the sun: The sun is the engine of growth. Vegetable and herbs need at least six hours of sun, but more is better. Take a look at your growing area (patio, deck, yard) at regular intervals throughout the day. Note where and how long the sun hits that area and whether you will need to move your pots to get your plants the sun they need.
Know your soil: Good soil is your plants’ home. If you are starting with pots, choose an organic mix made for pots. While you can make a go of it with soil from your yard, you don’t know what’s in it. Potting soil is made to hold water longer and leave room for tender roots to expand. An organic potting mix is also free from chemicals and usually pre-charged with the nutrients your plants will need to get started.
Choose wisely: It’s your growing debut, so make it easy on yourself and choose easy to grow veggies like lettuce, radishes, spinach, beets, arugula and kale, which all sprout easily and love the cooler temps of May.
Care: Pots dry out faster than in-ground soil, so monitor them every day. Watering in the evening is best, but morning works too. Push your index finger straight into the soil. If you sense dampness before your first knuckle, you don’t need to add water. Water deeply – any excess water will drain out through the holes in the bottom of your pot.
LEVEL 2
Ready to up your game? Let’s talk location, soil and mulch.
Location: You know the basics and are bursting to try growing in the ground. Your first choice of plot gets full sun, but is it close enough to a water source? Is the plot safe from deer? If you can’t answer yes to both questions, consider another spot or make plans to run a water line and install stout fencing.
Soil: Your location is ideal, but before you sink a fence post, test the soil. Even if you plan to install raised beds and bring in good soil, test the soil. You wouldn’t buy a house without doing a thorough walk through and inspection, and the same goes for soil. For accurate results, take small samples from about 6-8 inches below the surface from six different spots in the proposed growing area. For details on soil testing and information on where to mail your sample, go to: https://bionutrient.net/site/soil-test
What you’re looking for is any evidence of heavy metals or other pollutants. A proper soil test will contain a detailed list of your soil’s composition so you know what you’re working with and can amend the soil accordingly.
Planning: You’ve got a rockin’ good spot and you’re properly fenced – you’re ready to grow. Now it’s time to consider what will grow where and when. Make sure you are confident on the path the sun will take as it rises and moves west. The angle of the sun is closer to the horizon in the spring and fall and directly overhead in mid-summer. Draw a basic map of your garden and have a list of the vegetables you plan to grow and a calendar on hand. Be sure to leave room for plants to grow, and position taller plants where they won’t shade out their shorter friends. Planning and mapping eliminate the guess work during the season, so you can spend more time caring for your plants and eating the results. For helpful planning tools and calculators, check out: https://www.johnnyseeds.com/growers-library/online-tools-calculators.html
Mulch: The earth considers bare soil a wound that it must cover. Enter weeds. Weeds are highly adaptive, vigorous plants that take advantage of uncovered soil. They’re nature’s Band-Aid. Weeds store carbon in soil, just like other plants, but they compete for the nutrients your vegetables need to prosper. To prevent or control weeds, cover any bare soil in and around your garden. For garden beds, chopped straw or leaves are great choices. Around the beds, wood chips work well. Mulch is essential for keeping weeds at bay and serving as a cap to keep the top few inches of the soil moist and teaming with beneficial microbial life. Never leave your soil uncovered. Mulch equals a much higher degree of success in the garden.
TIP: Straw and hay are not the same thing. Straw is the hollow stalk of cereal grain plants such as oats or wheat. It should only contain a few stray seeds here and there. Hay is animal feed and full of nutritious grains that will sprout in your soil and take root. Look for chopped straw, salt hay or mulch with crushed up leaves. Mulch Master Shredded Straw is readily available and will get in all the little nooks and crannies easily.
LEVEL 3
Your early lettuces, spinach, onions and garlic are happily settled in and looking good, and your carrots are the star of your photo stream. Congrats! You’ve got some serious skills. So, what’s next? Dream big, and dream of plenty, because you’re just getting started.
Up your seeding game: Have you added inoculants to your seeding regimen? Inoculants are positive bacteria that help seeds quickly assimilate with the soil and jumpstart growth. They are most commonly found in powdered form and are readily available at any reputable nursery or gardening supply store. There are countless strains of bacteria already enjoying the fertile soil you have nurtured these past few seasons, but a quick dusting of inoculant at seeding time ensures your seeds sprout into the most hospitable environment possible.
A little inoculant goes a long way. Sprinkle just a small amount of inoculant powder into your palm or seed packet – just enough to coat the seeds. Then seed as usual. Beans and peas require certain strains of bacteria, so pay special attention to finding an inoculant that will boost legumes and all your other crops. https://www.johnnyseeds.com/tools-supplies/inoculants/garden-combination-inoculant-9321.html
Pest Control: Tired of cutting open cabbages only to find colonies of cabbage moth larvae making condos? Time to up your pest control game.
Those pretty little white moths that flutter about your garden are cabbage moths, and they are very proficient at laying eggs on your kale, cabbages, broccoli and other brassicas. Once those tiny little eggs hatch, their larvae eat your crops like it is their job. BT (Bacillus Thuricide) is a natural strain of bacteria that is toxic to many species of caterpillar-type larvae. Once digested, the larvae stop eating and eventually expire. It’s harmless to humans and animals.
TIP: Spray BT on the underside of all the leaves of your plants (where the pores, called Stomata, are) as close to sunset as possible. Stomata open around sunrise and sunset, allowing plants to exchange oxygen for carbon dioxide. When plants absorb BT through the stomata, they become toxic to larvae. You must reapply BT after a rain or every 7-10 days. For more information on BT, go to: https://www.motherearthnews.com/organic-gardening/how-to-use-bt-pesticide-zw0z1304zkin/
That’s a wrap for this go around. I hope you learned something or feel inspired to get out there and grow more of your own food. Home grown, super-fresh veggies are highly nutritious, and the process of growing helps us reconnect to our place in the delicate cycle of life.


Leslie Dock
Leslie Dock is an accomplished freelance farmer, gardener, permaculture practitioner and educator based in Katonah. Originally from Wisconsin, she made her way to NYC to pursue a career in acting in 2001. After 15 years in the city and numerous vocations, she moved to Katonah with her family and discovered a passion for agriculture and gardening.
“I feel so lucky to live in Katonah,” Leslie says. “We have access to a small-town community and communion with nature and one of the greatest cities in the world. The only thing missing is a killer taco joint in town.”